
Finding Electrical Faults: A Step-by-Step Guide for Homeowners
Introduction
Electricity powers our homes, making modern life possible. However, electrical issues can arise unexpectedly, leaving homeowners in a bind. Knowing how to identify and address these problems is crucial not only for safety but also for saving on costly electrical repairs. In this comprehensive guide, we’ll walk you through the process of finding electrical faults step-by-step, ensuring you’re equipped with the knowledge necessary to tackle these issues effectively.
Finding Electrical Faults: A Step-by-Step Guide for Homeowners
In this section, we’ll delve into the nuts and bolts of locating electrical faults in your home. Understanding how to approach this task methodically can save time and prevent potential hazards.
Understanding Common Electrical Issues
Before diving into detection methods, it's essential to familiarize yourself with common electrical problems that homeowners often face:
- Flickering Lights: Often a sign of loose wiring or overloaded circuits.
- Tripped Circuit Breakers: Indicates that too much current is flowing through a circuit.
- Buzzing Sounds: Could point to faulty outlets or wiring issues.
- Warm Outlets: A potentially dangerous scenario indicating an overload.
Safety First: Precautions Before Starting
When dealing with electricity, safety cannot be overstated. Here are some essential precautions to take:
Identifying Symptoms of Electrical Faults
Recognizing early signs of electrical faults can make all the difference:
- Unusual Odors: Burning smells could indicate overheating wires or devices.
- Frequent Bulb Burnouts: This could mean a problem with voltage levels or faulty fixtures.
- Shock upon Touching Outlets: Indicates serious wiring issues that require immediate attention.
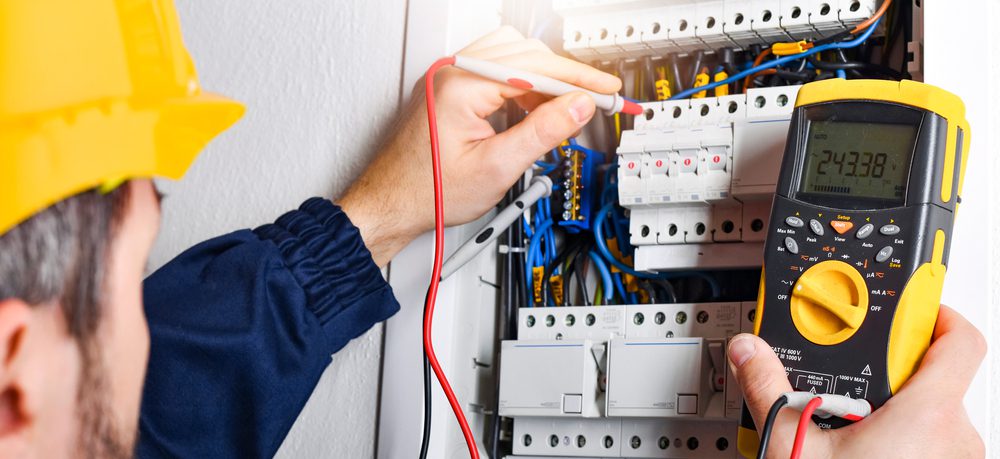
Gathering Necessary Tools
Equipping yourself with the right tools will facilitate easier troubleshooting:
- Voltage Tester
- Multimeter
- Screwdrivers (Phillips and flathead)
- Wire Strippers
- Insulation Resistance Tester
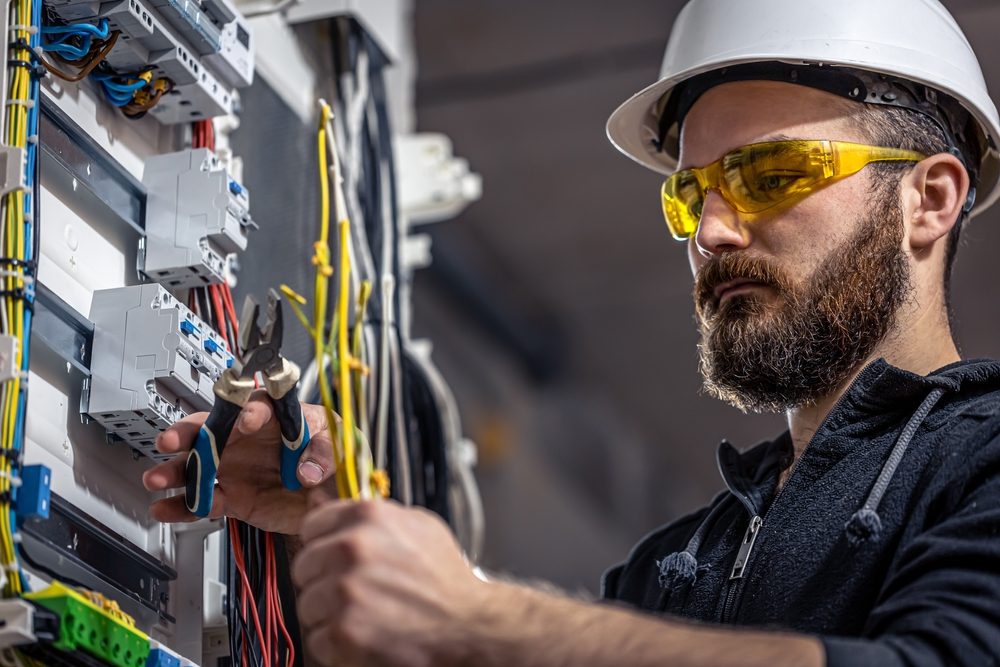
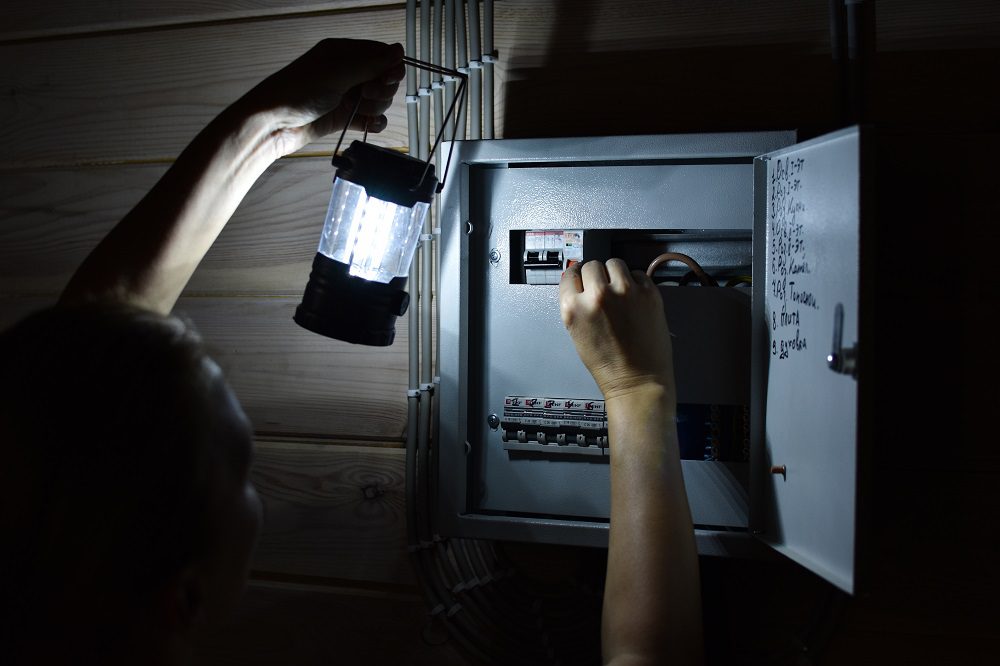
Step 1: Inspect Circuit Breaker Panels
The first place to check is your circuit breaker panel. Here’s how you can do it:
Step 2: Check Outlets and Switches
Next up are your outlets and switches:
Step 3: Look at Wiring and Connections
Sometimes hidden wiring connections can cause problems:
Step 4: Assess Appliances and Devices
Now focus on individual appliances:
Step 5: Engage with Professional Help When Needed
If you encounter complex issues that seem beyond your skill level, don’t hesitate to call in expert help through reliable home electrical repair services. Professional electricians possess specialized equipment and training that ensures safe diagnosis and repair.
FAQs About Finding Electrical Faults
Q1: What should I do if my circuit breaker keeps tripping?
A1: This indicates an overload or short circuit; try redistributing load across circuits or consult an electrician if it persists.
Q2: Is it safe to use extension cords frequently?
A2: While convenient, over-reliance on extension cords can lead to overheating; ensure they are rated for your device's power needs.
Q3: How often should I have my home’s electrical system inspected?
A3: It’s advisable every three to five years or after major renovations—ensuring safety is paramount.
Q4: Can I fix all electrical faults myself?
A4: While minor issues may be manageable, always call professionals for complicated problems involving high voltage or structural changes.
Q5: What signs indicate I need residential electrical repair?
A5: Flickering lights, warm outlets, frequent tripped breakers, and unusual sounds from outlets warrant immediate attention from professionals.
Q6: What are the risks of ignoring electrical faults?
Conclusion
Finding electrical faults doesn't have to be daunting for homeowners when armed with knowledge and proper techniques outlined in this comprehensive guide. Whether you're encountering flickering lights or tripped breakers regularly, understanding how to diagnose these issues safely is invaluable—not only for peace of mind but also for preventing costly damage down the road.
Remember—while DIY troubleshooting has its merits, knowing when to call in professional electrical repair services is key to maintaining a Discover more here safe living environment. By following these steps diligently and prioritizing safety measures throughout your inspection process, you'll become well-equipped in handling home electrical repairs effectively!